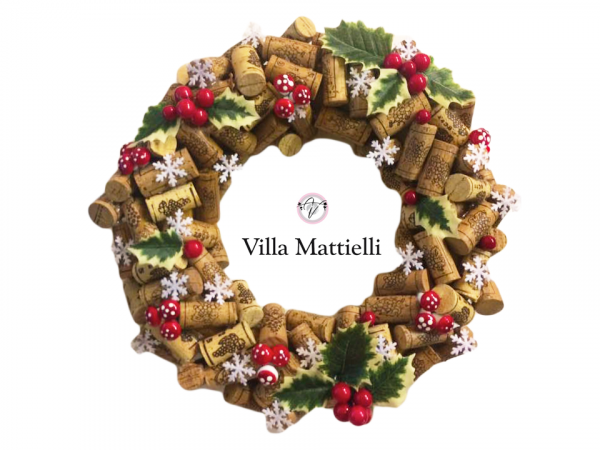
DIY - Christmas corks garland
Dear winelovers,
how many things that you use daily end up in a trash bin? A lot, we suppose. And that's a pity!
In fact, many of them could be transformed into something new and start a new life.
With our creative recycling ideas we want to give you new and original ideas, recovering what is left from a wine bottle after the wine is drunk, giving it a new shape and a new use.
Using wine corks, wine glasses, empty wine bottles, we can create new objects, in some easy steps.
Today's DIY is an original version of the classic Christmas garland.
Here you are what you will need in order to create the garland:
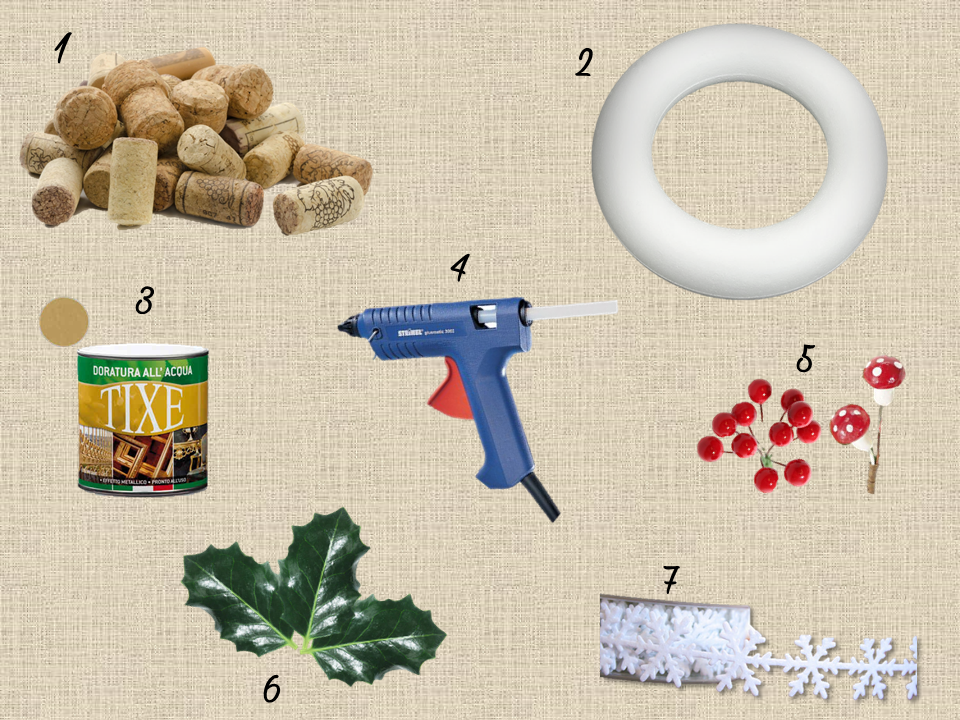
1. Corks: a hundred should be ok for a medium sized garland
2. Hot glue
3. Polystyrene wreath base
4. Ochre water based paint
5. Holly leaves
6. Red berries and red mushrooms
7. Snowflakes ribbon
Now that everything is ready, we can start creating our wreath!
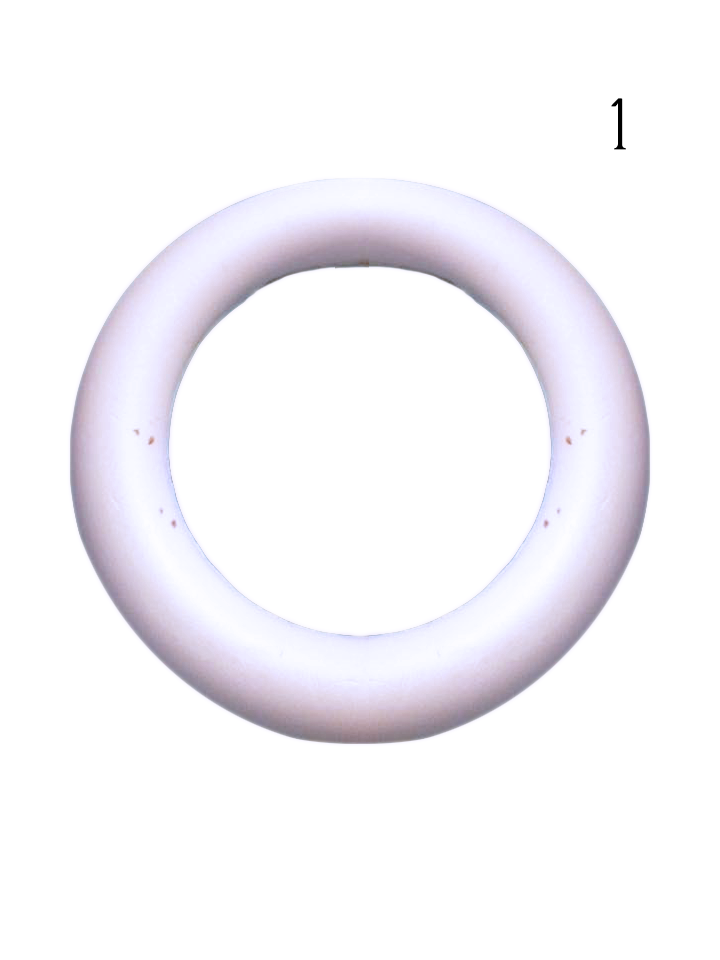
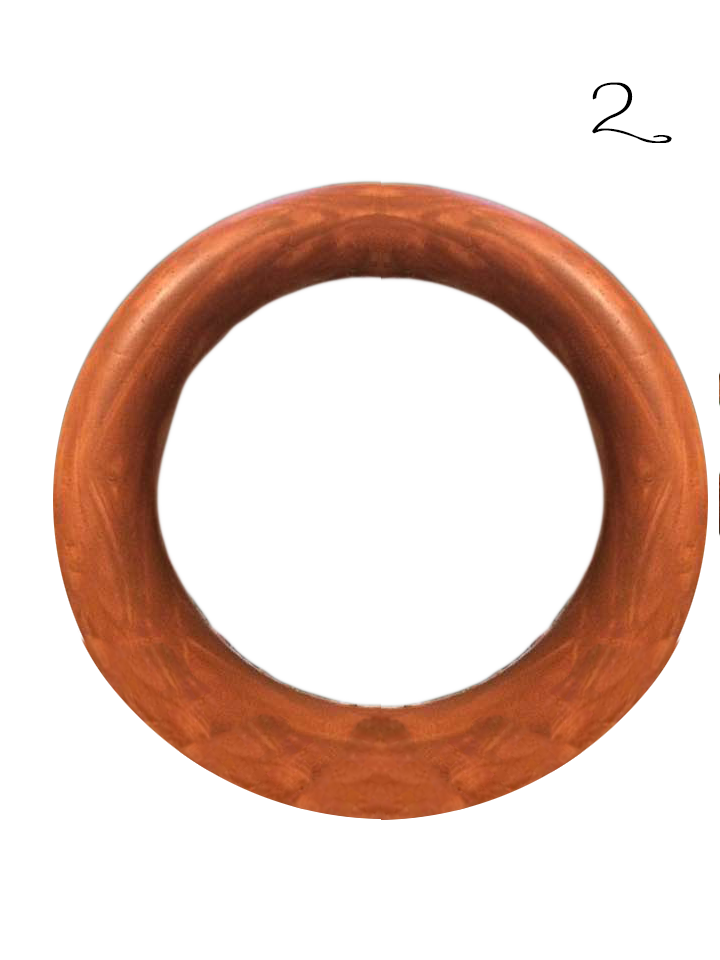
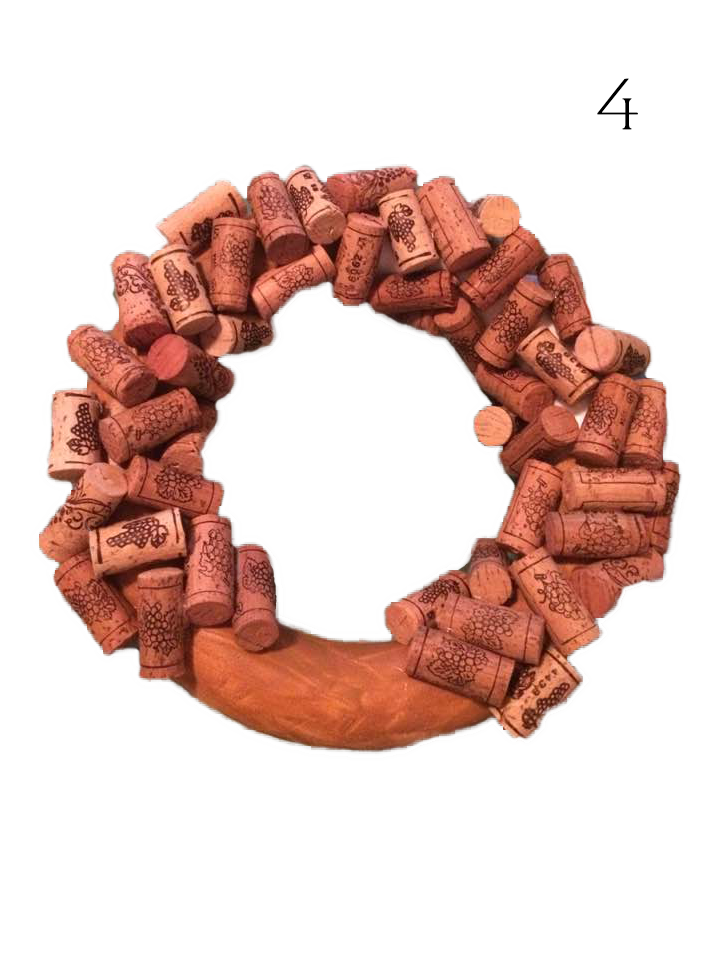
Let's take our wreath base and let's start to paint it evenly with the water based paint (do not use acrylic colours as they might melt the polystyrene!). If you paint the wreath, it will not be a problem even if you do not position the corks perfectly, as you will not notice white spaces between them. Do not forget to paint the back side of the wreath also.
Let the base to dry, followint the instructions of the varnish. Usually 4 hours should be enough, but if you have no hurry just eave it dry for an entire night.
Now that the base of the garland is dry, we can start working with the corks. We suggest to use, in order to mantain a certain uniformity, the same cork shapes (iT will make things easier not to use champagne corks).
Once that the hot glue is ready for the use, we can start to apply the corks on the wreath. Make sure not to apply the glue directly to the polystyrene.
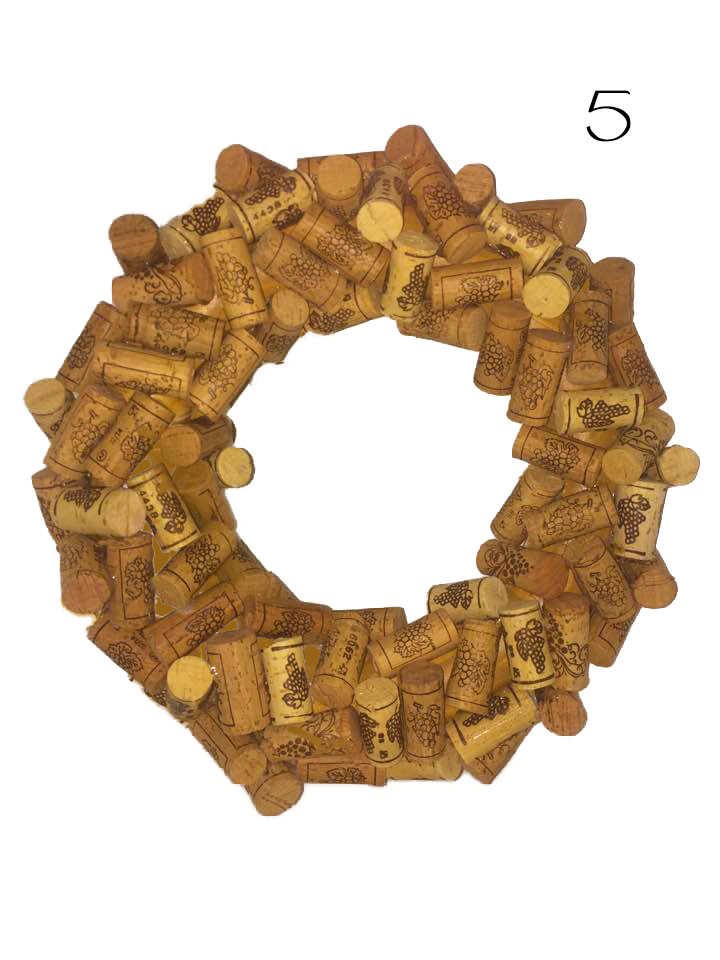
Once that we will have applied all the corks, the garland should look like this:
Now we only have to utimate the garland with the decorations. In this phase you can use all of your creativity!
We started sticking the red berries and the mushrooms, afterwards we cut the single snowflakes from the ribbon and applied it on the corks, with a certain uniformity.
At last, we applied the holly leaves. Nothing forbids you to apply other decorations, such as a spinkle of glitters, or a snow dusting.

Last step: turn a red ribbon to the base, so that you can easily hang it.
Did you like this DIY tutorial? Send us the pics of your wreath!
A presto,
VM
 How to choose the right glass?
 Wine serving temperatures
 Mediterranean Cod
 5 good reasons to give someone a bottle of wine
 The wine alphabet - B like...
 The perfect aperitif
 San Pietro's sailing ship
 The wine alphabet - A like...